When I’m building stuff that doesn’t quite turn out right, I have a ready-made excuse:
“It’s just a prototype … if it doesn’t work, we can throw it away and start over.”
So here’s my latest round of not-quite-right prototypes.
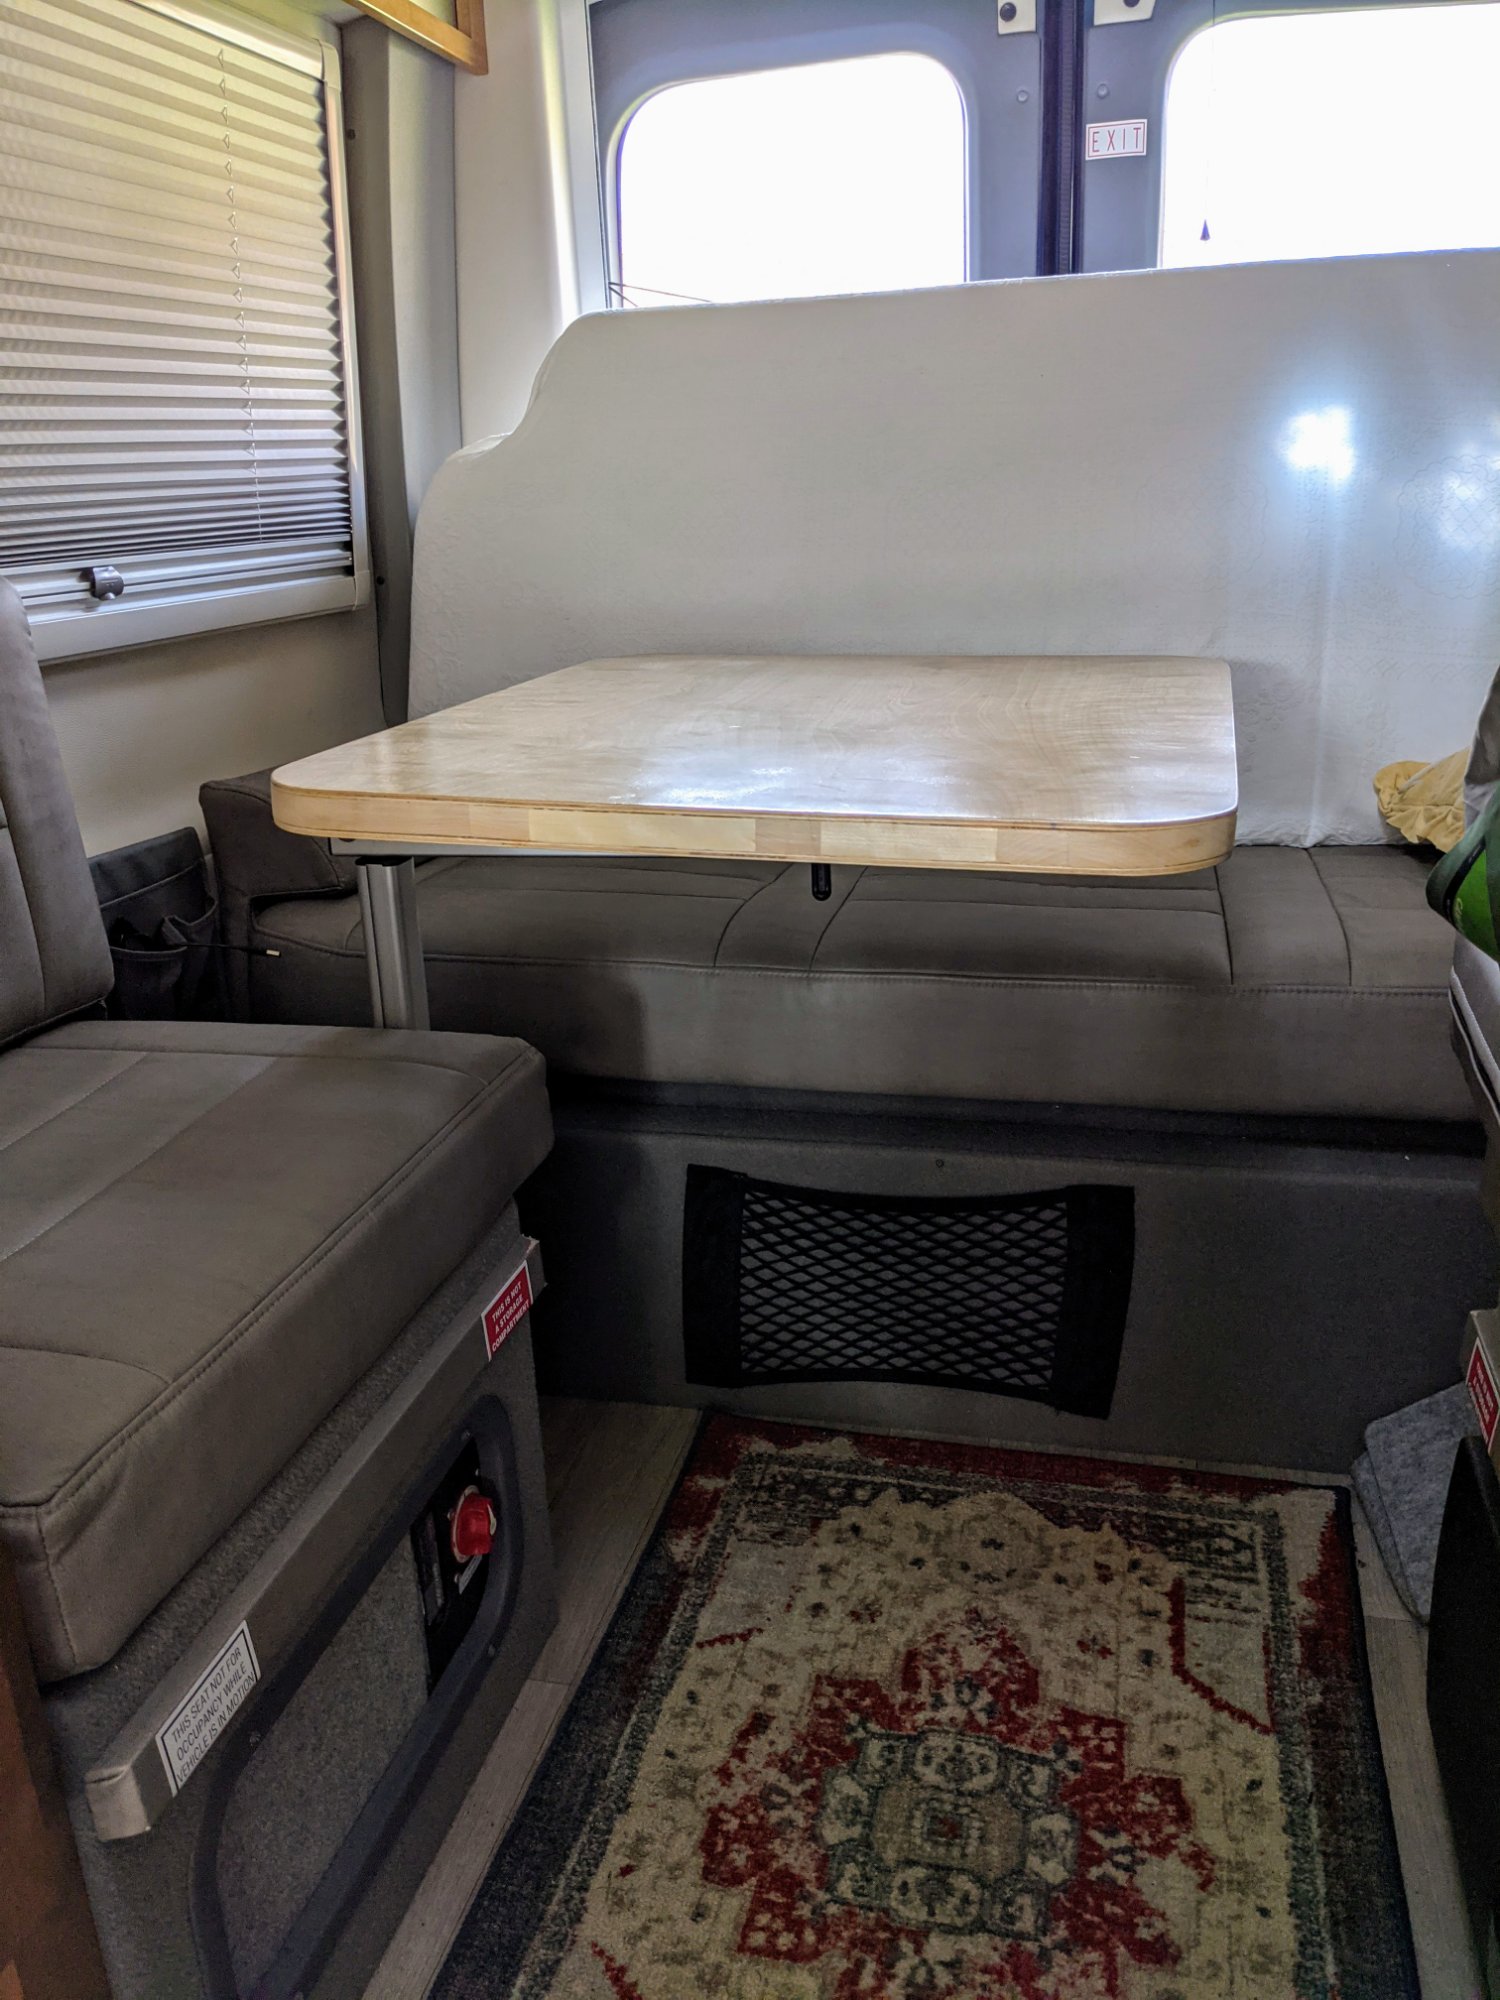
New table: The campervan came with a tiny, near useless 12″ x 28″ table and another 12″ x 28″ filler piece that made up the rest of the bed platform. Presumably they made it in two narrow pieces so that they could be stashed and fastened behind the couch, where they would not bonk someone on the head during an accident. But a 12×28 table is too small to eat from, so as soon as I got the camper home I made up a 24 x 28 table from solid aspen, and eventually a Lagun table mount. The new table & mount work fine. The table is a bit heavy though, so I made a another new table from a 1″ x 2″ aspen & 1/4″ birch plywood sandwich. This is the first time I tried gluing up something like this. It’s not perfect and it’s not as light as I thought it would be. But considering it’s just a prototype….
Cargo Door Bug screen: The camper comes with spring retracting, aluminum framed mosquito screens. The mechanism is the same as a roll-up window shade, with all of the same quirks. The cargo door screen closes from left to right. If you let go when opening or closing it’ll slam itself closed. If you are not careful it comes out of its track. Slipping in and out of the van without letting in bugs is hard, so we end up going through a bug-wacking ritual any time we have to open the screen at night. In short, it’s fiddly.
Newer campers come with a bug screen that’s more like what you’d find on a tent, but with Velcro and/or magnets instead of a zipper. They cost $500-$800. My homemade one cost less than $100 if you don’t count the day that it took me to relearn how to sew a simple seam and the multiple days that it took to sew and re-sew until it (sort of) works.
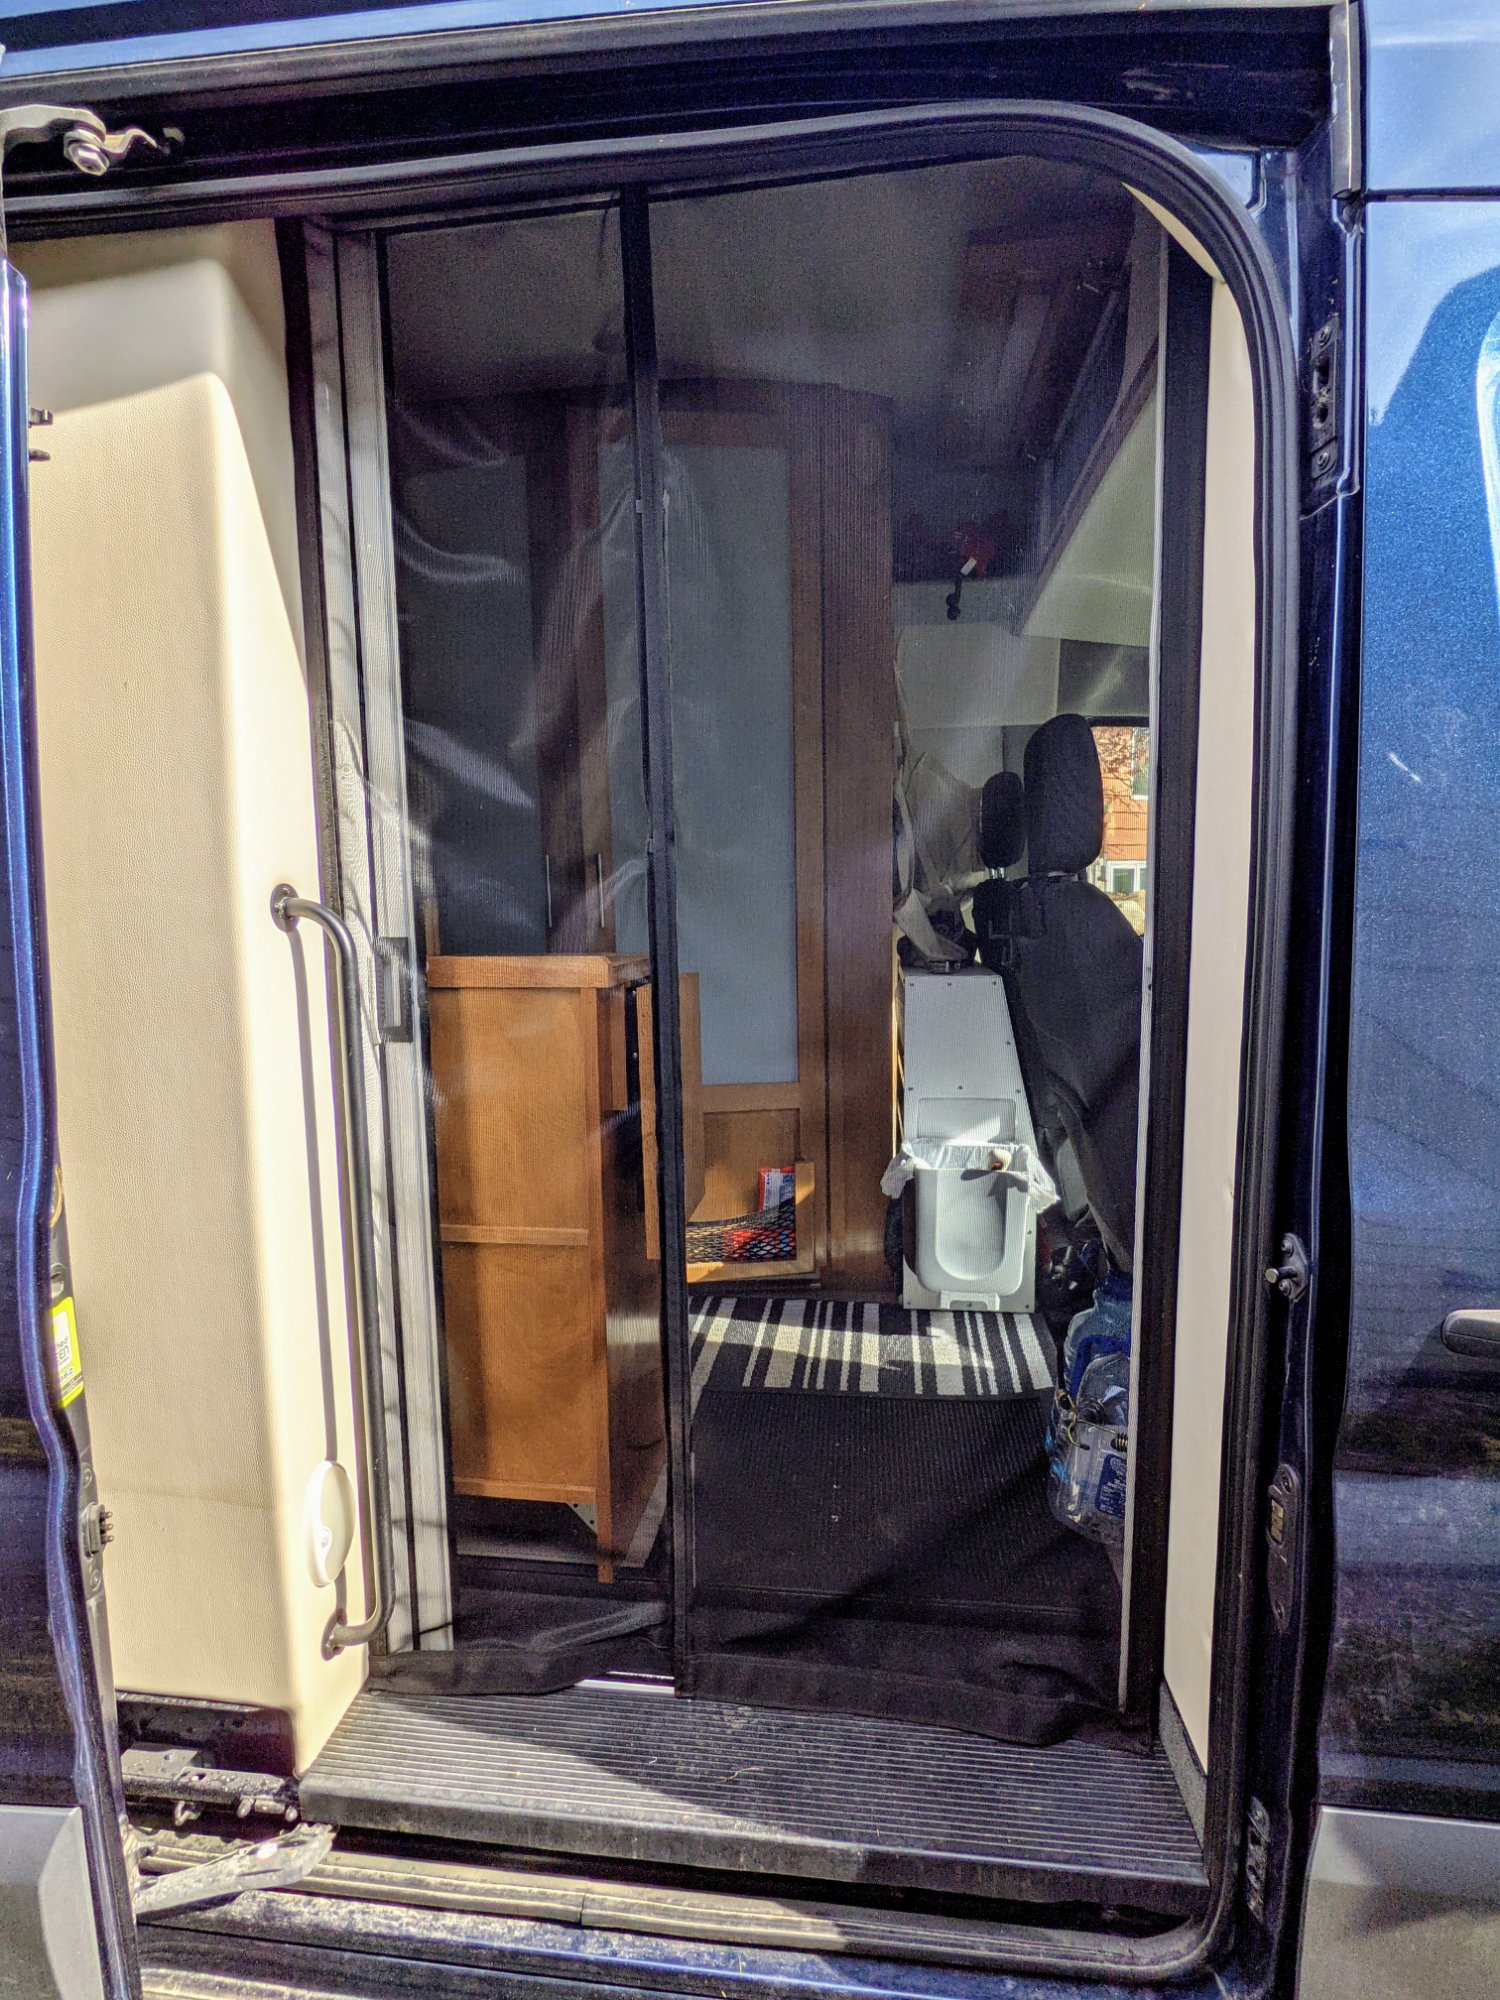
To be useful, the new screen needs to be less fiddly and still keep out bugs – otherwise it’s sort of pointless. I made it from two panels of screen material stitched to a border of nylon webbing. I’m using Velcro to attach the new screen to the frame of the old screen. The panels overlap in the middle. To keep it closed, I used neodymium magnets instead of a zipper. The closure is aided by aluminum stiffeners, weatherstripping, and a cloth-wrapped rope to help keep the gap between the panels close enough to keep out bugs. The intent is that you can pull the screen open with one hand without fiddling with a zipper, and have it close itself. The magnets (maybe…) pull it closed anytime the two haves are within a few inches of each other.
I already have ideas on how to make it better, but would have to start completely over to try them out. If it keeps out bugs and isn’t as fiddly as the original, great. If it doesn’t work we’ll go back to the old one and come up with a new design.
It’s a prototype. 😄
Victron OS on a Pi: Victron makes devices that collect data from it’s various chargers, inverters and battery monitors and uploads the data to their cloud where it can be charted and graphed. The GX devices cost upwards of a few hundred dollars. They also publish a free version of that software that runs on a Raspberry Pi. I installed their Venus:OS on a Pi and configured it to monitor my Victron chargers. Unfortunately half of my Victron gear is the low-end stuff which is not supported by their GX monitoring devices. I don’t have Victron battery monitors, so even the bit that can be monitored is incomplete. The existing homebrew monitoring using python scripts and a Blynk dashboard works well enough.
This prototype didn’t make it into production.
Microcontroller: I’m using a Raspberry Pi to gather data on the electrical utilization, battery and refrigerator temperatures. It works fine, but I’ve been wanting to learn more about microcontrollers and thought that the various probes and monitors could be re-implemented using a microcontroller instead of a general purpose computer like the Pi. The microcontrollers are much smaller, boot faster and use less current.
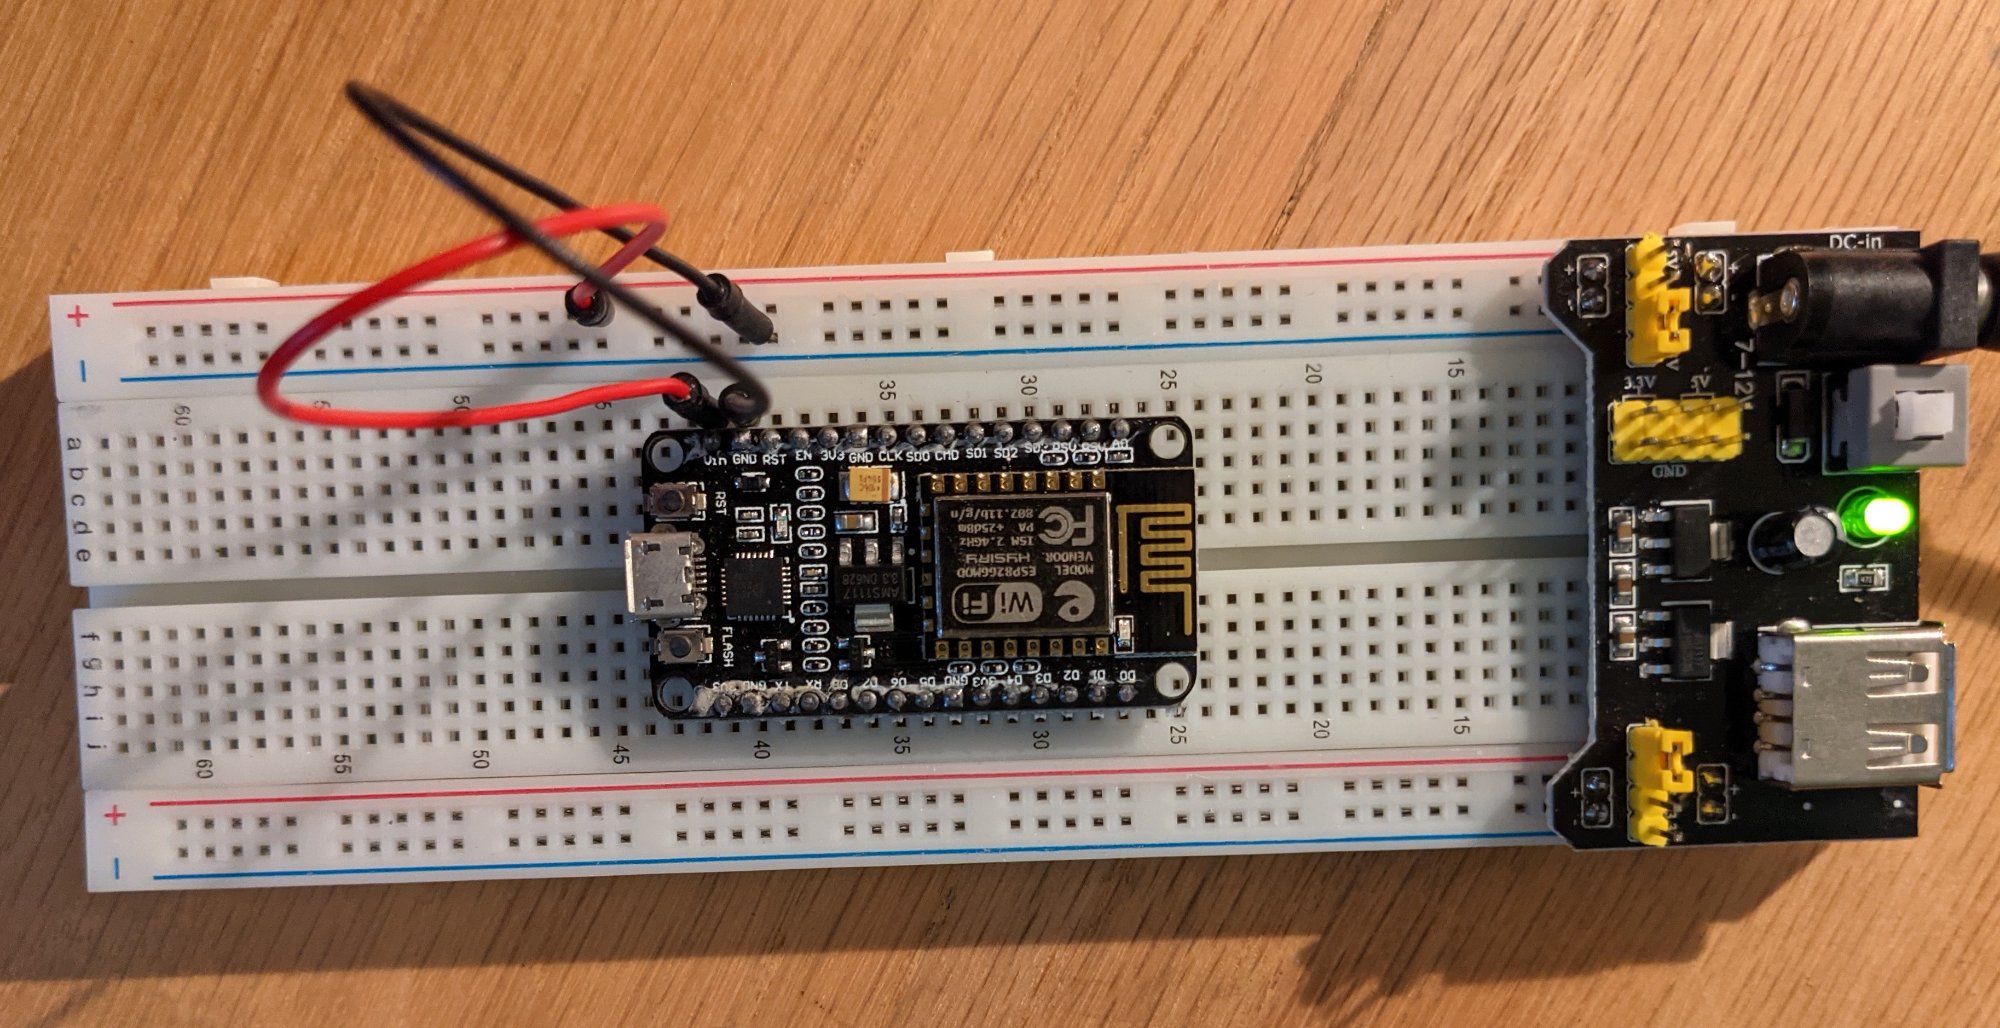
After a few days of playing around with micro-python, NodeMCU and Lua, I think that I’ll be better off using a Pi. It’s far easier to program and has enough I/O capability for my needs. For now, the microcontroller is a solution waiting for a problem.
Another prototype that didn’t make it.
Odds & ends: The original storage cabinet (prototype) has been replaced with another version, and that version has been modified a couple of times. I think it’s going to work well, with perhaps a bit more tweaking.
Coming up: We’re getting set to head back out west, so we should have travel updates starting next week.

Leave a comment