
The day I drove the Crossfit home, I threw a bit of gear in the back and camped in a local boondocking spot in a wildlife refuge that night. Nothing like jumping with both feet. That got me started on tweaks and modifications to the coach.
Observation #1: The space behind the couch is hard to manage. Everything below the level of the couch can stay in place when the couch folds down into a bed. Above that level has to be tossed somewhere else – like up in the cab. My solution was first a quick and dirty temporary shelf, and later a permanent shelf, both positioned at the height of the bottom of the couch. Anything below the shelf is clear of the couch when it folds down. Anything on or above the shelf has to get moved forward at night.
I built the first shelf from a section of wire shelving commonly found in big-box lumber stores. The permanent shelf is fabricated from 16ga. 1″ wide steel bent to fit over the bracket that holds the seat belts, and a few slats of 1×3″ aspen.
Here’s the shelf in place.

It’s been very handy. At night we reach over the couch back and grab whatever is on the shelf – always in easy to handle duffel bags – and toss it up on the front seats. Below the shelf are the things that we normally only access from outside – camp chairs, grill, etc.
Observation #2: The supplied window coverings are way too hard to use and take too much space. We don’t use the front seats as living space, so a simple blackout curtain hanging from Velcro between the seats and the coach is sufficient. I made one from thin black nylon so it folds up small and can be stuffed anywhere.

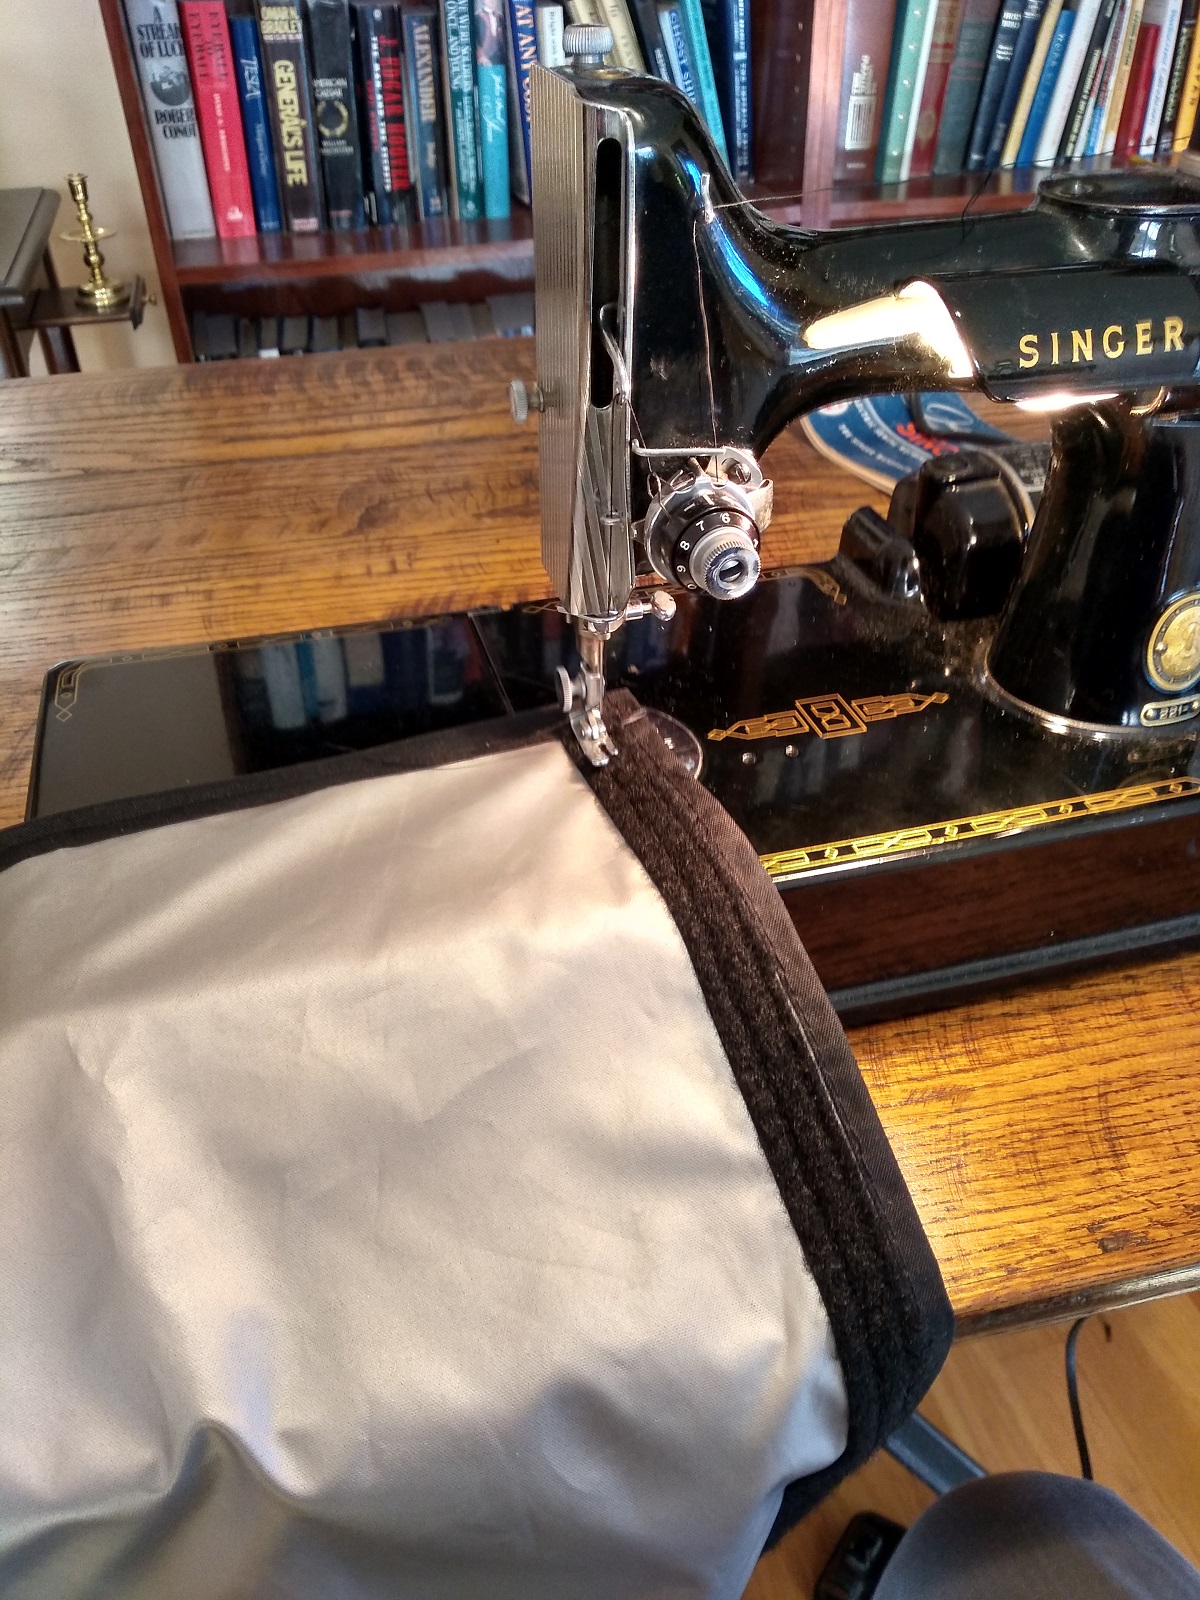
And yes, I own and use a vintage Singer model 221 sewing machine in perfect condition with all factory attachments. You can be jealous. It’s OK.
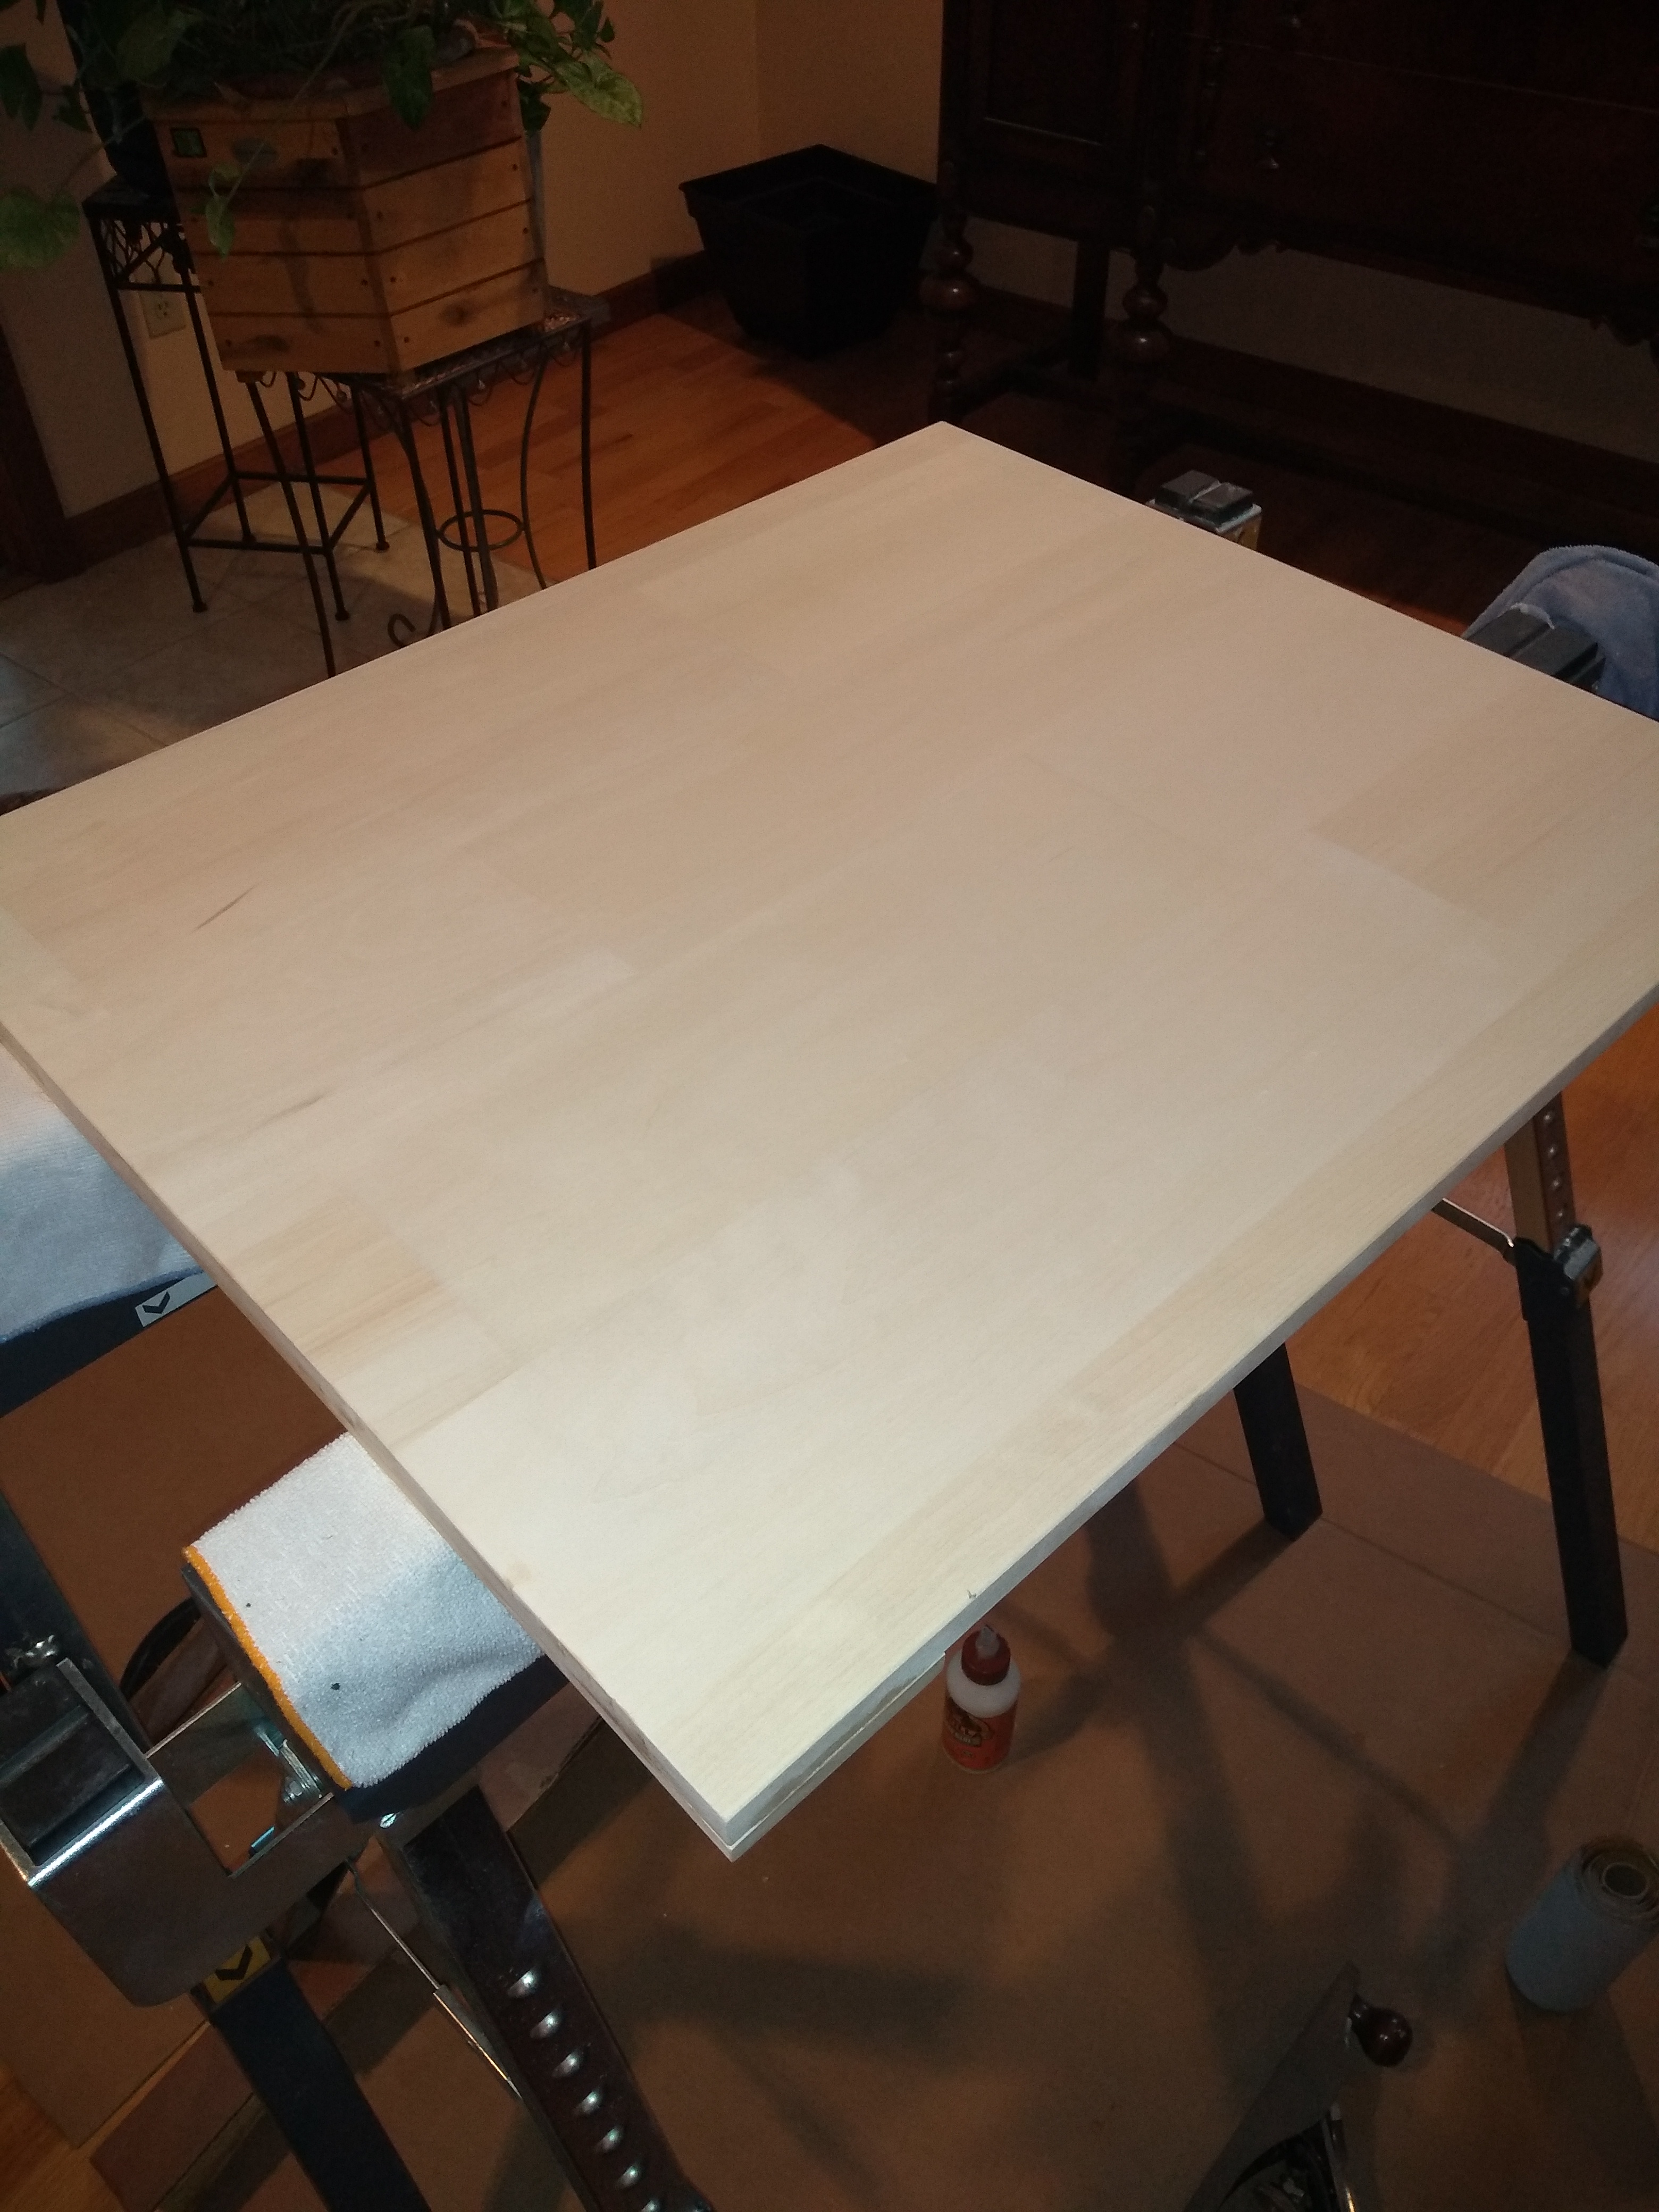
Observation #3: The Coachmen supplied table is a joke. It’s half the size that it could be, and stores under the couch in a spot that requires you to unload everything from the back just to access the table. I quickly decided to make my own table out of aspen. I sized it twice what the factory provides (28″ x 24″), but exactly what’s needed for the bed.


The only down side to this is that you have to pivot the table around in order to skootch back to the couch. We’re OK with that. I could have offset the post bracket to make that easier.
I think a Lagun-style table mount might be an improvement.
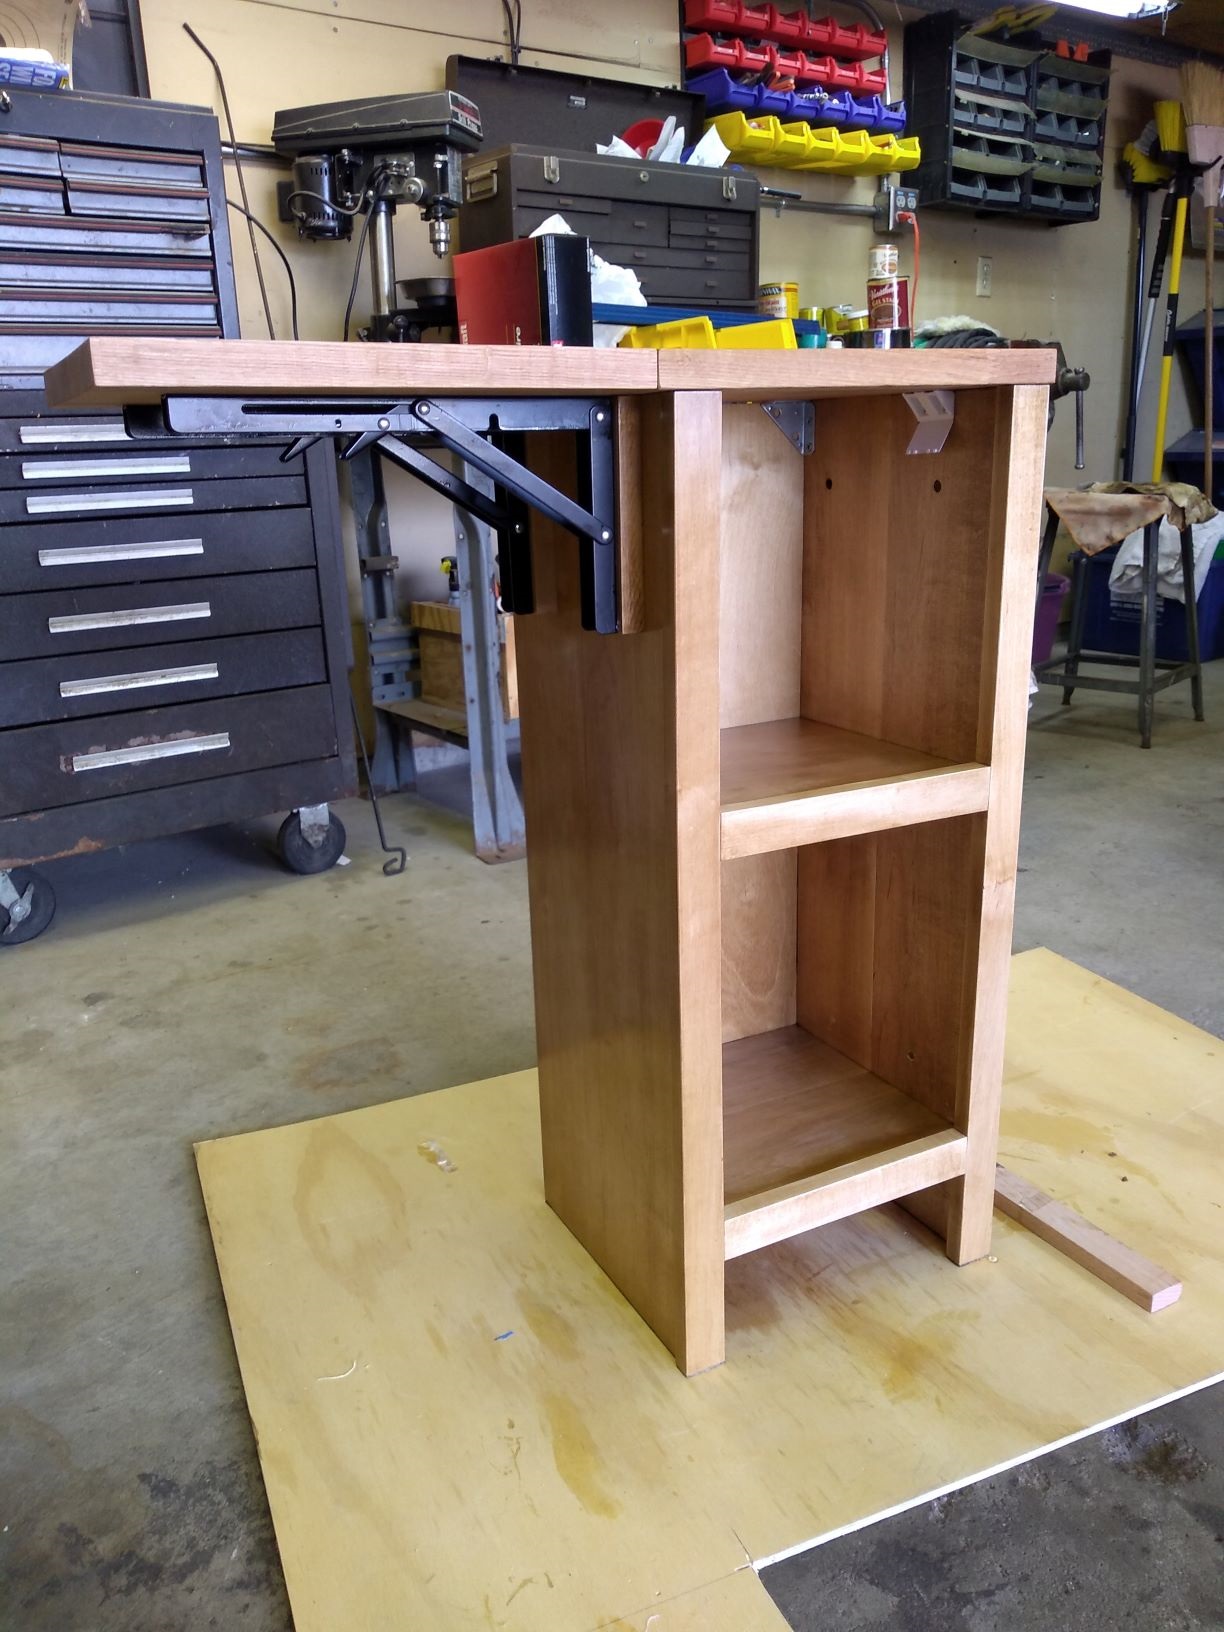
Observation #4: The space by the side entry door is wasted, and is better used for storage and galley work space. The solution was a small cabinet with a swing out extension. This would be the first time I’ve built anything like a cabinet.
I built the cabinet from sanded maple 3/4″ stock sourced from the local big box. The oak top is a piece of random oak source from the same place. The raised panel door hinges on euro-style hinges. The cabinet is bolted to the existing galley cabinet. I padded the inside of the cabinet with the kind of felt used on custom automotive speaker cabinets, hoping to keep things a bit quieter inside.

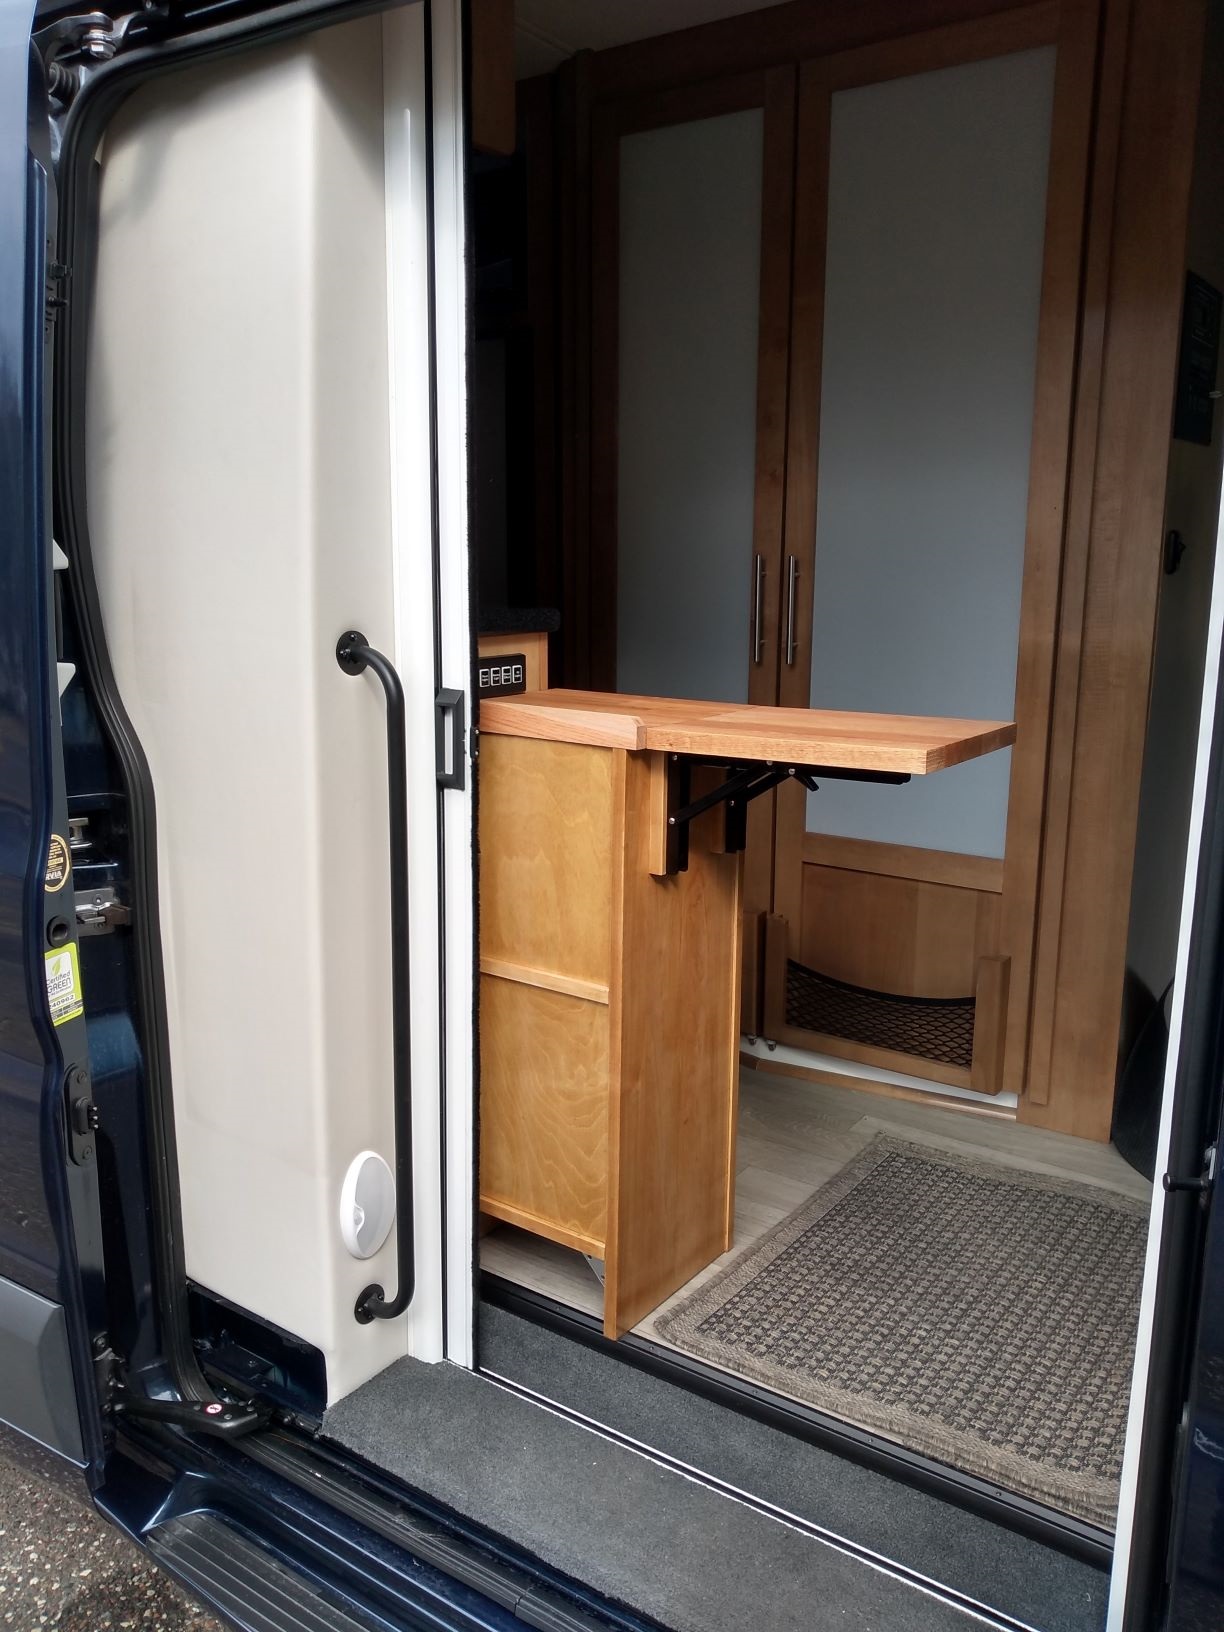


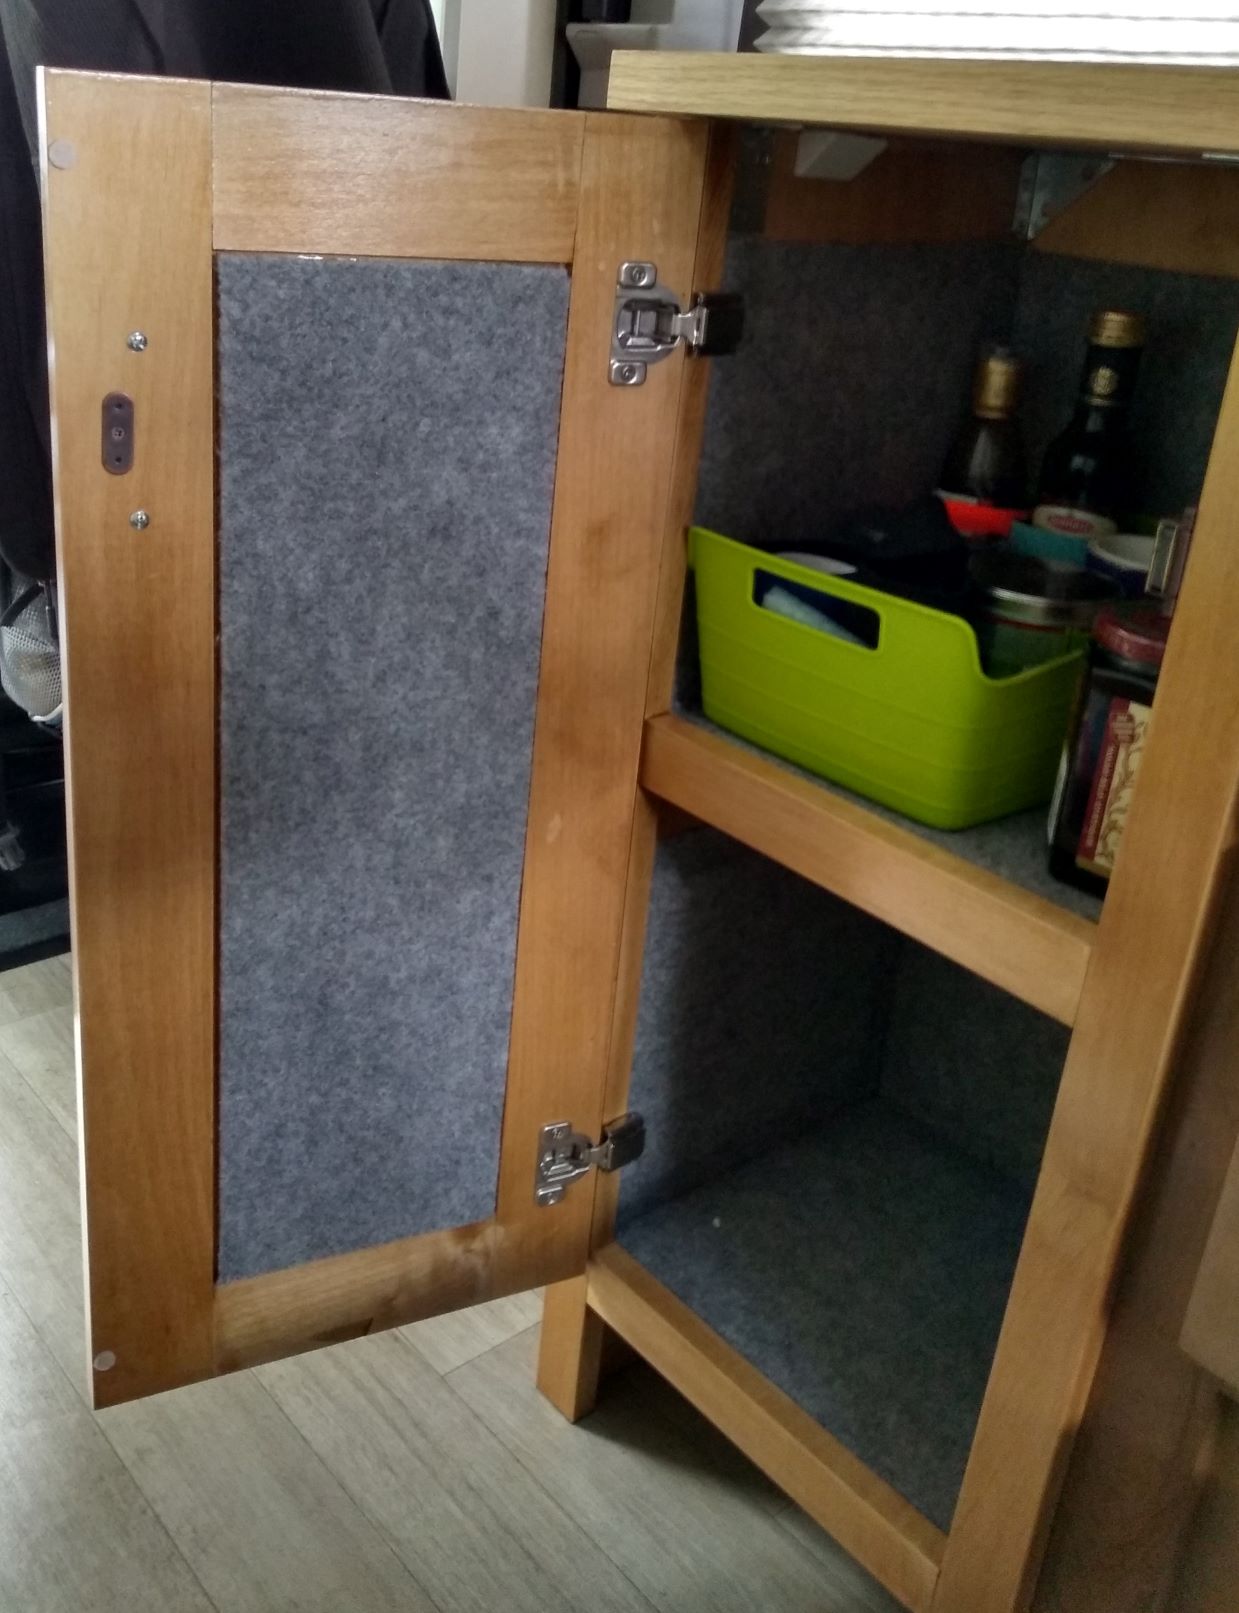
The cabinet halves the width of the side door entry so you have to watch your behind a bit as you ingress and egress from the coach.
Observation #5: The original spice rack was useless. The spices fells\ out too easily and rattled too much when going down the road, I made a new spice rack out of a cheap set of bamboo drawer dividers sourced from Amazon. I fastened the dividers together, ran bungees through them to hold the spices in place and keep them from rattling, and fastened the whole mess to the wall.

I’ve tweaked a few more things – an additional shelf in the pantry, bungee nets in the front of the upper cabinets, funky looking bathroom medicine cabinets, aluminum angles fastened to the front of some of the selves to keep stuff from walking out while going down the road, coat hooks, etc.
Once we settled on an arrangement for the utensils, I cut up some foam to hold them in place. I also made a shower mat from some leftover ipe hardwood, nylon straps and rubber feat; and a small cabinet to use up some of the space behind the drivers seat.


I’ll cover two major projects – adding a lithium battery and venting the refrigerator in separate posts.
